índice
Introduction
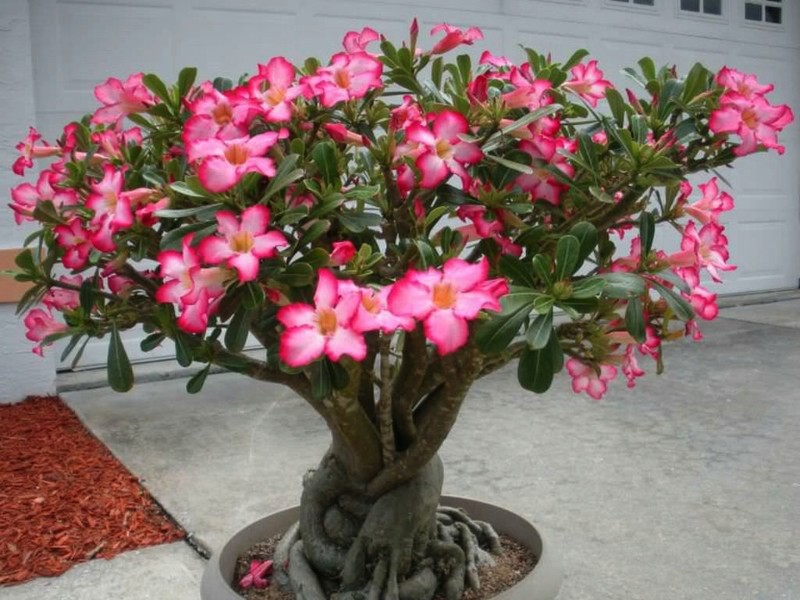
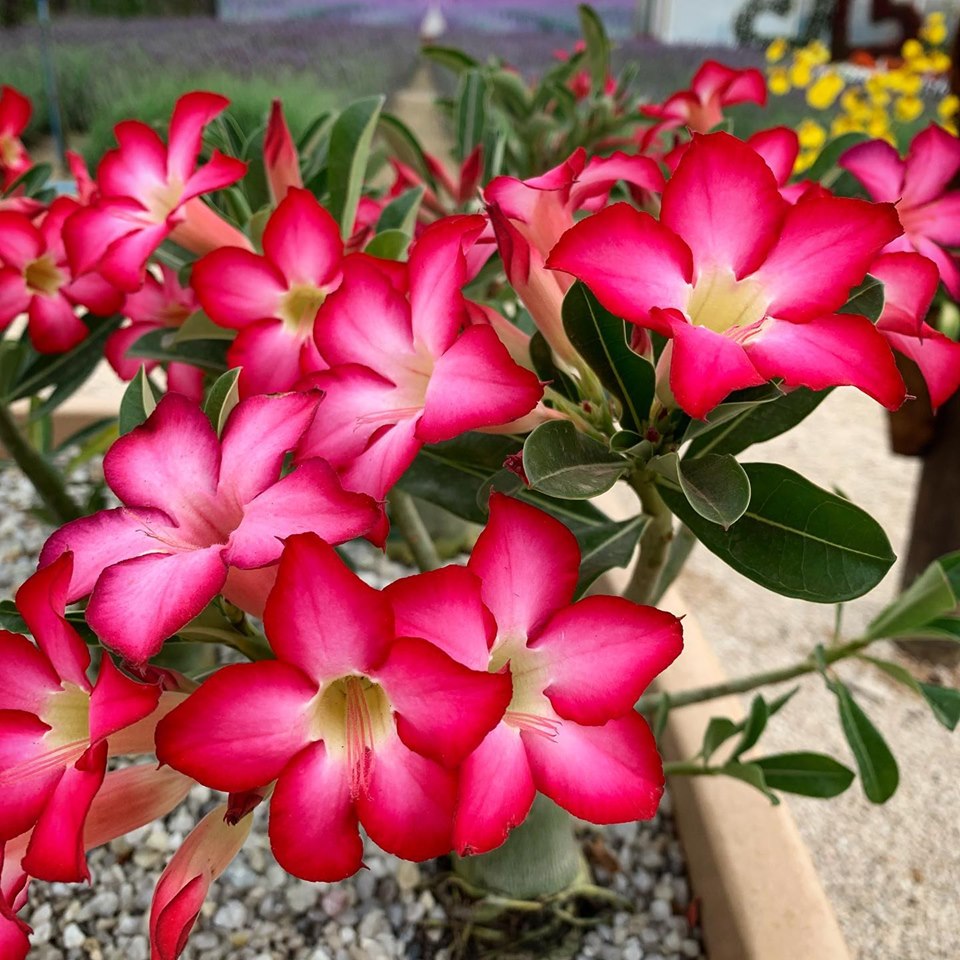
Have you ever been enchanted by the exotic beauty and vibrant flowers of the Desert Rose? This plant, known for its sculptural shapes and dazzling flowers, has won over more and more admirers around the world. In addition to its impressive appearance, Desert Rose is also famous for its resistance and easy cultivation, which makes it a favorite among gardeners and collectors.
But why is growing Desert Rose seedlings such an interesting practice? Making seedlings of this plant not only allows you to multiply your collection economically, but also offers the satisfaction of following the plants’ development from the start. What’s more, the cuttings can be shared with friends and family, making them a unique and personal gift.
In this post, you’ll learn 5 essential tips on how to make Desert Rose cuttings. We’ll cover everything from choosing cuttings to initial care and transplanting. With these tips, you’ll be ready to start your own journey in propagating this magnificent plant. Let’s go?
Tip 1: Choosing cuttings
Description of the ideal cutting
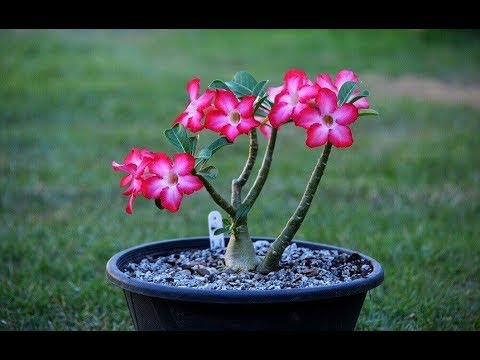
To ensure the success of Desert Rose propagation, the choice of cuttings is crucial. Select healthy cuttings, preferably from mature, well-developed branches. The ideal cuttings should be between 15 and 20 cm long and have a reasonable diameter, indicating that they are robust enough to root well. Avoid branches that are too young or too old, as these may have difficulty developing roots.
Ideal time to cut cuttings
Optimizing the time of year to cut the cuttings can significantly increase your chances of success. The best time to harvest cuttings is during spring and early summer. During these periods, the plant is in full growth phase, which favors the formation of roots in the new cuttings. Avoid cutting cuttings during the winter or when the plant is dormant, as the low biological activity can make rooting difficult.
Care when cutting
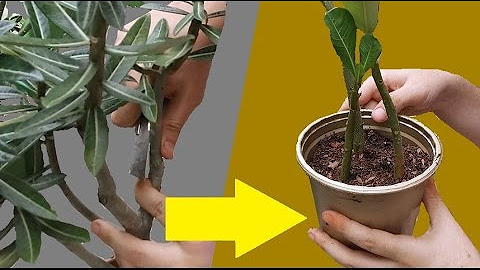
Cutting the cuttings properly is essential to avoid damaging the mother plant and increase the viability of the seedlings. Use sharp, sterilized pruning shears to make clean, precise cuts. Cut at a 45-degree angle, just below a node (the part of the plant where the leaves meet the stem). This angle increases the rooting area and promotes faster healing. After cutting, leave the cuttings in a shaded place for a few days so that the base heals, forming a protective layer that will help prevent fungal and bacterial infections.
By following these guidelines, you’ll be well on your way to obtaining vigorous cuttings that are ready for rooting, guaranteeing healthy, strong seedlings of your Desert Rose.
Tip 2: Preparing the cuttings
Healing
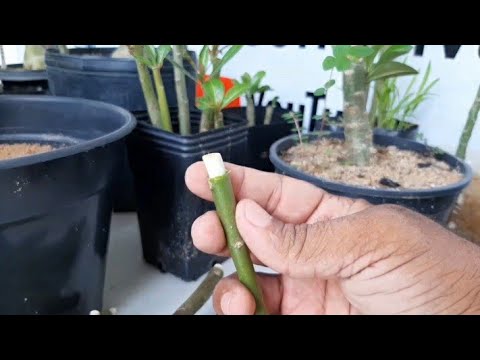
The healing process is essential to ensure the health and effective rooting of the cuttings. After cutting, the cuttings should be left in a dry, shaded place for about 5 to 7 days. This period allows the cut base to dry out and form a protective layer known as callus. This callus helps prevent the entry of pathogens and minimizes the risk of rotting, providing a more stable and healthy base for root development.
Fungicide treatment
The use of fungicides is highly recommended to protect cuttings from infection. Before starting the healing process, you can soak the base of the cuttings in a fungicide solution. This helps to eliminate fungal spores and other potential sources of infection. Alternatively, sprinkle a fungicide powder on the cut area. This treatment is crucial to avoid diseases that could compromise the development of the cuttings.
Preparation time
The time needed to prepare the cuttings must be respected to ensure successful rooting. On average, cuttings need 5 to 7 days to heal properly before being planted. During this time, keep the cuttings in an airy place and protected from direct sunlight. Once the base is very dry and calloused, the cuttings are ready to be planted in the appropriate substrate.
By following these steps, you will significantly increase the chances of your cuttings rooting successfully, resulting in vigorous and healthy Desert Rose seedlings.
Tip 3: Choosing the right substrate
Types of substrate
Choosing the right substrate is fundamental to the successful rooting of Desert Rose cuttings. Some of the best types of substrate include:
- Mixture of sand and perlite: The combination of sand and perlite in equal parts creates a light and well-drained substrate, ideal for preventing the cuttings from rotting.
- Substrate for cacti and succulents: These ready-made substrates are specifically formulated for plants that need good drainage and little moisture retention.
- Mixture of peat and perlite: The peat helps retain some moisture while the perlite improves aeration, creating an ideal balance for root development.
Desirable Substrate Properties
A good rooting substrate should be well-drained and aerated. These properties are crucial to avoid moisture accumulation, which can lead to rotting of the cuttings. Efficient drainage ensures that excess water doesn’t accumulate around the developing roots, while aeration provides the oxygen needed for healthy root growth. A compact, soggy substrate can suffocate the roots and promote the growth of harmful fungi and bacteria.
Preparing the substrate
Preparing and sterilizing the substrate before planting the cuttings is an important step in ensuring the health of the seedlings. Here are some practical tips:
- Mix the substrate ingredients: Combine the chosen components (sand, perlite, peat, etc.) in a suitable proportion, ensuring a homogeneous mixture.
- Sterilize the substrate: To eliminate pathogens, heat the substrate in the oven at 180°C for about 30 minutes or in the microwave for 10 minutes at high power. Another option is to water the substrate with a boiling water solution.
- Leave to cool: After sterilization, let the substrate cool completely before using it to plant the cuttings.
- Check the humidity: Before planting, make sure the substrate is slightly damp, but not soaked. Adequate moisture helps promote rooting without the risk of rotting.
Tip 4: Planting and initial care
How to plant the cuttings
Planting the cuttings correctly is crucial for successful rooting. Follow these detailed instructions:
- Preparing the substrate: Fill the chosen container (pot, seedling tray, etc.) with the previously prepared and leveled substrate.
- Inserting the cuttings: Make a small hole in the substrate with your fingers or a pencil and carefully insert the base of the cutting into the hole, making sure it is firmly fixed.
- Depth and spacing: Plant the stakes at a depth of approximately half their length, leaving the top exposed. Maintain adequate spacing between the cuttings to allow growth without competition for nutrients and space.
Initial watering
In the first few days after planting, it is essential to provide adequate water to encourage the cuttings to root. Here are some guidelines:
- Frequency: Water the cuttings immediately after planting to settle the substrate around them. After this first day, water again only when the substrate is dry on the surface.
- Amount of water: Apply enough water to moisten the entire substrate, but avoid overwatering. Excess water can suffocate the developing roots and increase the risk of rotting.
Ideal environment
Providing the right environment is fundamental to the successful rooting of cuttings. Consider the following points:
- Light: Place the cuttings in a location with bright indirect light. Avoid intense direct sunlight, as this can cause burns to the cuttings.
- Temperature: Keep the cuttings in an area with a temperature between 20°C and 25°C during the day and slightly lower at night. Temperatures that are too high or too low can discourage rooting.
- Humidity: Maintain a moderate level of humidity around the cuttings, but avoid excessively humid environments, which can favor the development of fungi.
Tip 5: Monitoring and transplanting
Monitoring rooting
It is important to pay attention to the signs that indicate successful rooting of the cuttings. Here are some indicators to watch out for:
- New leaf growth: The appearance ofnew leaves at the top of the cutting is a promising sign that the roots are developing and beginning to supply nutrients for growth.
- Resistance to gentlepulling: When the cuttings are rooted, you will feel a resistance when you pull them gently. This indicates that the roots are starting to attach themselves to the substrate.
- Visible root development: In some cases, you can see the roots developing through the substrate or on the sides of the container.
Common problems and solutions
Despite proper care, some problems can arise during the process of rooting cuttings. Here are some tips for dealing with them:
- Rot: If the cuttings show signs of rotting at the base or if the substrate is excessively damp, remove the affected cuttings and replant in a fresh, well-drained substrate.
- Pests: If you detect the presence of pests such as aphids or spider mites, treat the cuttings with a suitable insecticide and keep the surrounding area clean and free of debris.
Transplanting to the final pot
When the rooted cuttings are ready for the next stage of growth, it’s time to transplant them into a larger pot or directly into the garden. Here are some guidelines:
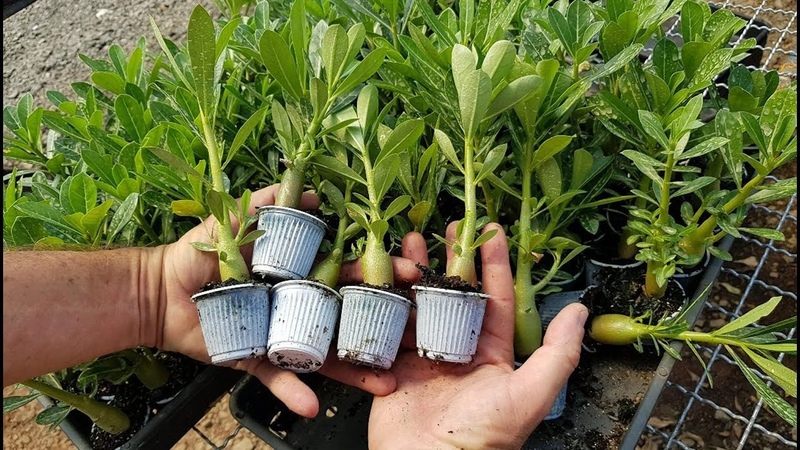
- Timing: Wait until the cuttings have developed a strong root system and are showing vigorous growth before transplanting them. This usually occurs after a few weeks or months, depending on the growing conditions.
- How to transplant: Carefully remove the seedlings from the original container, handling the root system gently to avoid damage. Plant the seedlings in the new pot or in the garden, making sure they are at the same depth as before.
- Post-transplant care: Water the newly transplanted seedlings and keep them in a place protected from direct sunlight for a few days to minimize stress. Gradually introduce them to brighter light conditions as they adapt to the new environment.
Conclusion
In this article, we’ve explored step by step how to make Desert Rose seedlings effectively and successfully. Here is a summary of the essential tips we covered:
- Choosing cuttings: Select healthy, mature cuttings and take care when cutting them to avoid damage.
- Preparing the cuttings: Heal the cuttings and use fungicides to promote healthy rooting.
- Choosing the ideal substrate: Opt for well-drained and aerated substrates to ensure an environment conducive to rooting.
- Planting and Initial Care: Plant the cuttings correctly, water properly and provide the ideal environment for the roots to develop.
- Monitoringand Transplanting: Monitor rooting, be prepared to deal with common problems and transplant at the right time.
Encouragement
Now that you’ve learned these valuable propagation techniques, we encourage you to put them into practice and try your hand at making your own Desert Rose cuttings. There’s nothing more rewarding than witnessing the growth and development of a plant you’ve propagated yourself!
Call to Action
We’d love to hear your experiences and tips on making Desert Rose seedlings. Leave a comment below sharing your own techniques or questions that may arise. Also, don’t forget to share this article on your social networks so that more people can benefit from these useful tips. Together, we can create a thriving and inspiring gardening community!
Frequently Asked Questions
How to make a Desert Rose foot?
To make a Desert Rose tree, you need to cut healthy cuttings from the mother plant, let them heal, prepare a well-drained substrate, plant the cuttings, take care of watering and the right environment until the cuttings take root and can be transplanted into a permanent pot.
How to cut Desert Rose for a change?
To cut Desert Rose cuttings, choose healthy, mature branches, make clean, sloping cuts just below a node, let the cuttings heal for a few days, then plant them in a suitable substrate to promote rooting.
Can you make Desert Rose seedlings from the leaf?
It is not possible to grow Desert Rose cuttings with just one leaf. This plant is propagated through cuttings taken from the branches, which must contain at least one node to ensure the development of new roots.


